
When I think of simple dishes that both comfort and nourish the soul, a warm plate of pasta often comes to mind. Dressed simply, perhaps with just some browned butter, parsley, lemon juice and Fleur de Sel or even with a fruity, cold-pressed extra virgin olive oil, freshly cracked black pepper and a judicious grating of nutty Parmigiano-Reggiano cheese, noodles can absolutely be fit to stand alone at the dinner table. And, for most people, there may not be an easier, faster to make, more versatile “go-to pantry staple” in the kitchen than a box of dried pasta. Add a jar of store-bought tomato sauce and you can usually even please the pickiest of eaters, all in less than 20 minutes. Not bad…
However, with just a little more effort and only four staple ingredients you already have in your pantry(*) and fridge, the quality and taste difference fresh pasta makes in any dish is remarkable. Don’t get me wrong; there is a place for dried pasta in this world, especially for heartier, extruded shapes like rigatoni, penne and bucatini. For softer noodles like tagliatelle, pappardelle, fettuccini and pillow-like ravioli, however, fresh pasta is definitely the way to go.
The recipe and method for fresh pasta couldn’t be simpler, but it does require a pasta machine if you want the best success, as it is difficult to hand-roll the dough thin enough for most styles of noodle. I favor and use pasta roller attachments for my Kitchen-Aid stand mixer, but hand-crank models do a fine job as well (and can be found for around $30-40 in department stores or online). If you’re looking for a brand recommendation, although a bit more expensive than most manual rollers, Atlas makes an excellent, stainless steel machine.
* Okay, okay…I’ll admit most people don’t keep white truffle oil on a shelf at home. But, I do, and when you make your own pasta, you have the chance to create a canvas that will enhance the overall flavor of the dish you intend to use it with. This whole wheat/white truffle variation below was perfectly earthy and umami-laden when I paired it with a garlicky, smoked paprika shrimp scampi. Want to make regular pasta from a non-foodie pantry? Use regular all-purpose flour and extra virgin olive oil instead. When I’m not making whole wheat pasta, however, I prefer a mixture of 50% Bob's Red Mill semolina flour and 50% Caputo tipo “00” flour to produce silky-smooth pasta, but AP works just as well.
WHOLE WHEAT/WHITE TRUFFLE PASTA DOUGH
INGREDIENTS – Yields 1/2 Pound Cooked Pasta
200 g whole wheat flour
2 eggs (extra large, preferably organic)
6 g (1 tsp.) kosher salt
10 ml (2 tsp.) white truffle oil
Additional bench flour for dusting
PROCEDURE
- On a clean work surface, mound the flour and form a deep, wide well in the center.
- Crack and add the eggs, salt and oil to the well. Beat the eggs with a fork.
- Once the eggs are mixed, slowly begin to incorporate the flour from the sides of the well into the liquid. Make sure not to break the walls of the well too soon or you will have eggs and oil on the loose!
- When the mixture looks like wet sand, form the dough into a ball with your hands and knead vigorously for about 10 minutes. After kneading, the dough will be much smoother in texture and very resilient.
- Tightly wrap the dough ball in plastic and refrigerate. Let it rest for at least an hour or, if you have the time, overnight.
- Cut the rested dough into four equal pieces, dust again with flour and use a pasta machine to roll them out. Let the pasta sheets air dry for 10-15 minutes before cutting them into your desired noodle shape (either by hand or with machine attachment). Dust the cut noodles again with bench flour.
- Cook the noodles in at least 6 quarts (1.5 gallons) of well-salted boiling water. Depending on the width of the noodle, fresh pasta will be cooked al dente in just 1-3 minutes.
Well Method

Kneading the Dough

Dough Ball Ready to Rest

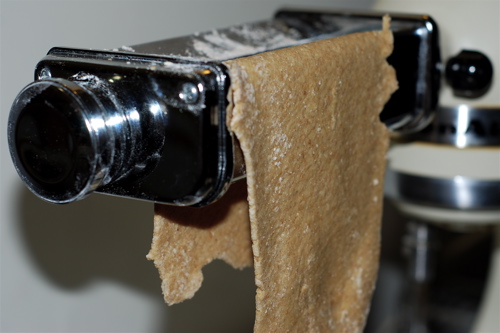
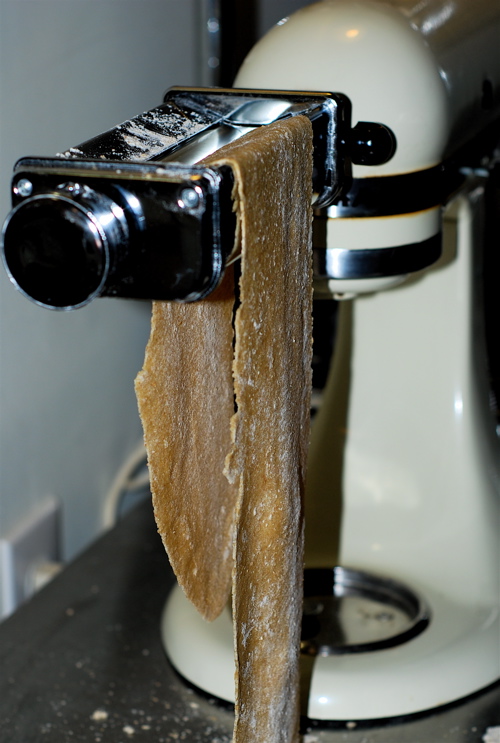
Rolling the Pasta
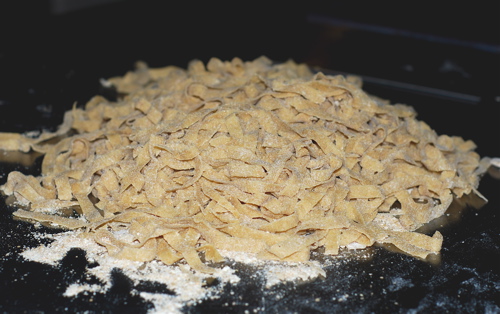
Finished Tagliatelle
Recipe and Images: Copyright © 2010, Jeff Feighner. All Rights Reserved.